Move-Out Made Easy: Top Tips to Avoid Fees and Get Your Deposit Back
It’s that time of year again! As the semester winds down, college students across the country are preparing to move out of their apartments. Whether this is your first time or you’ve done it before, knowing how to get your security deposit back can save you hundreds of dollars. With a little planning and the right strategy, you can avoid surprise fees and leave your apartment in great shape.
Here’s your ultimate guide to a smooth move-out and maximizing your refund.
1. Know the Rules: Review Your Lease & Move-Out Instructions
Start by reviewing your lease and any move-out instructions from your Landlord or property manager. Pay close attention to cleaning expectations, key return policies, and timelines to prevent last-minute surprises (and avoidable charges).
Key tips:
- Read your lease carefully for cleaning expectations and fee schedules.
- Review any move-out packets or notices from your Landlord or property manager. These often include detailed checklists and key return procedures.
Pro Tip: Don’t assume standards are the same as your last apartment—each property has unique rules.
2. Start Early—Don’t Wait Until the Last Week
The biggest mistake tenants make? Procrastinating.
To-do list:
- Create a move-out timeline at least 3–4 weeks in advance.
- Schedule utilities shutoff for your last day (if applicable).
- Line up friends or movers for packing and lifting.
3. Clean Thoroughly—It’s Worth Every Minute
Property managers often charge $50 to $500+ for cleaning if they do it themselves. If you want to know how to get your security deposit back, this is one of the most important steps—deep cleaning matters. Avoid that by deep cleaning every room. Here’s what to clean:
Floors & Carpets:
- Vacuum and mop.
- Spot-clean stains.
- Rent a carpet cleaner or hire a professional if needed.
Walls & Doors:
- Wipe down surfaces and remove scuffs.
- Patch small nail holes (avoid painting unless authorized).
Kitchen:
- Clean the stovetop, burners, and oven interior.
- Wipe cabinets inside and out.
- Empty and scrub the fridge/freezer- leave doors ajar if unplugged.
Bathroom:
- Scrub sinks, showers, tubs, and toilets.
- Remove mold or mildew.
- Polish mirrors and fixtures.
Bedrooms & Common Areas:
- Dust blinds, baseboards, and ceiling fans.
- Empty closets and wipe shelves.
Pro Tip: Many Landlords expect a “white glove” level of cleanliness. Hiring professional cleaners might be cheaper than a hefty cleaning fee.
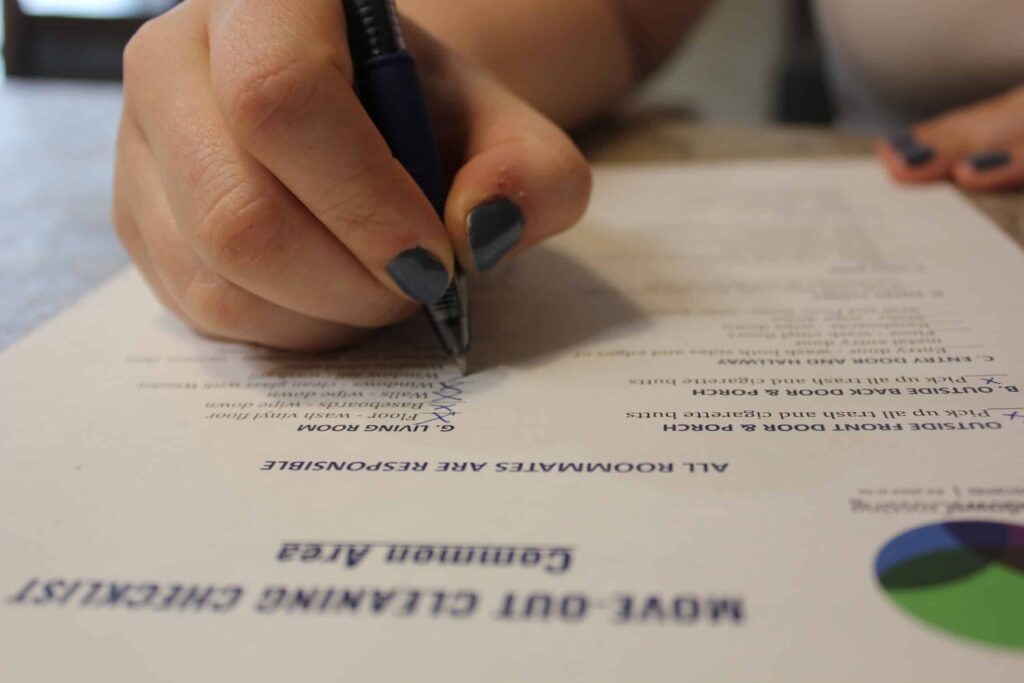
👉 Click here for our Resident Cleaning Checklist at Meadows Crossing
4. Patch and Repair Light Damage
Small nail holes from hanging décor? Patch them up. However, larger repairs or repainting should only be done if permitted by your lease terms. Attempting major fixes yourself mighty lead to more fees if not done properly.
Most lease allow for normal wear and tear but not damage:
Do:
- Patch nail/tack holes with putty.
- Tighten loose cabinet handles or doorknobs.
- Replace any burned-out bulbs.
Don’t:
- Attempt major repairs without permission—it could lead to bigger charges.
Pro tip: For bigger problems–holes larger than a quarter, broken blinds, or chipped countertops- contact your Landlord or property manager before trying a repair. Unauthorized or poorly repairs can result in additional fees.
5. Remove All Personal Items
Don’t leave anything behind! Forgotten items can lead to removal fees.
Remember:
- Double-check closets, drawers, and storage spaces.
- Do a final walk-through with an empty box.
Pro Tip: Donate usable furniture or goods to local thrift stores or campus donation drives.
6. Take Photos and Document Everything
Once the unit is empty and clean:
- Take time-stamped photos or video walk-throughs of every room.
- Include inside appliances and closets.
- Document carpets, walls, and fixtures.
If a dispute arises later, you’ll have proof of your apartment’s condition.
7. Return Keys, Parking Permits & Access Cards On Time
Lost keys and permits = additional charges!
Potential charges if you forget:
- Key replacement charges ($25–$100+ per key/fob).
- Lock change fees.
- Parking permit replacement fees.
Pro Tip: Hand in items personally or request a receipt if dropping them off.
8. Wrap Up Utilities and Mail Forwarding
Provide your new address so your security deposit—and any important mail—gets to you without delay.
To avoid extra charges or missed mail:
- Contact utility companies to shut off or transfer service.
- Forward mail through USPS.
- Notify your Landlord of your new forwarding address.
Reminder: Unpaid utility bills can result in collections or bar you from renting with the same company again.
9. Communicate With Your Landlord
If you run into unexpected problems—like accidental damage or maintenance delays—let your Landlord know before you move out. Proactive communication can sometimes reduce charges or help you work out a solution.
Final Thoughts: A Little Effort Pays Off
Start planning now, clean thoroughly, and communicate proactively. If you’re serious about how to get your security deposit back, following this checklist will set you up for success—with money in your pocket and peace of mind for what’s next. Moving out can feel overwhelming, but with a clear plan, you can wrap up your lease with confidence and hopefully get your full deposit back. Start early, stay organized, and don’t hesitate to reach out to your property management team if you have questions—they’re there to help.
Start early, stay organized, and ask questions. A well-planned move-out can save you hundreds of dollars and offer peace of mind as you head into your next adventure!